This guide walks you through how to manage email communications on your PowerHouse Hub portal using the Email Settings. You can configure sender details, rerouting options, and contact information to control how emails are sent and received from your site
To access, navigate to Settings on the side menu, then select Email Settings from the Platform Settings:
IMPORTANT: Changes will not be updated until the SAVE button is clicked at the very bottom of the page.
To manage how emails are sent and received from your site, use the settings below to configure sender details, rerouting options, and contact information.
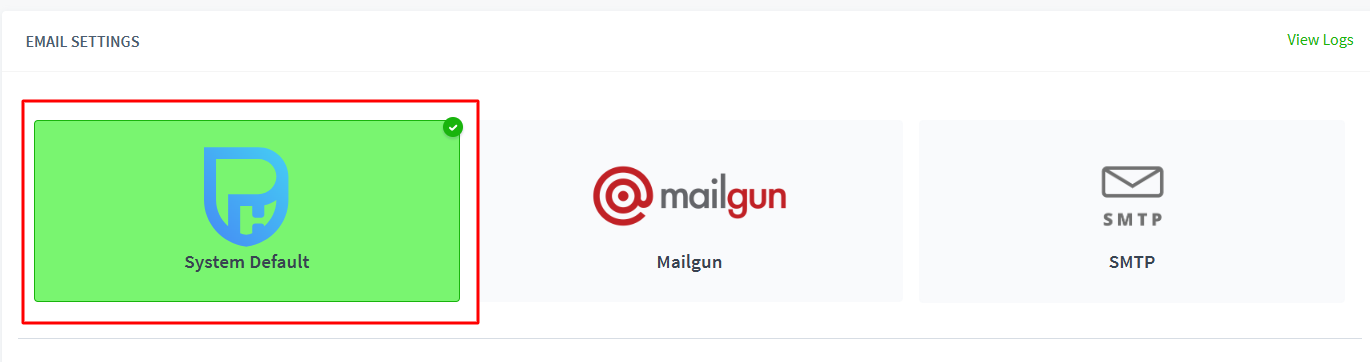
System Default
Email settings
- Admin Email Address - This is the email address used as "sender" for every email generated from the site
- Re-Route All Emails to Admin - ‘On’ will force ALL emails to be sent to the Admin Email Address specified above, rather than sending emails to your users
- Admin Name - This is the name accompanying the email address used as "sender" for every email generated from the site
- Send Test Email
DKIM Settings (Advanced)
Use DKIM to authenticate the emails sent from this site to your users, which will greatly reduce the chance of emails ending up in spam. Both steps need to be completed.
- Create your public DNS record - Create your public DNS record with TXT DNS entry with the name provided
- Enable DKIM - Once you validate the DNS record using the button below, you'll be able to enable DKIM-signed emails.
- Click to ‘Save’ your changes
Mailgun
Mailgun is an email service provider that allows you to send, receive, and track emails through APIs. If enabled, all system emails will be sent via the Mailgun account you configure.
Setting Up Mailgun
Log in to your Mailgun account and set up a new domain following the instructions provided by Mailgun.
Locate your API key under Domain Settings → Sending API Keys.
Configuring in PowerHouse Hub
Once you have your API key and domain, configure your Mailgun settings in the App Store area of your portal.
- Add Your Domain in Mailgun - Add and verify your domain by following the steps in your Mailgun dashboard.
- Get Your API Key and Domain Name - Go to Domain Settings → Sending API keys tab, then copy your API key and domain name.
- Enter Details in Your System Settings - Paste the API key and domain name into the Mailgun section in your system settings, then click Save.
SMTP
SMTP (Simple Mail Transfer Protocol) is the standard protocol used to send and receive emails over the Internet. Mail servers and other message transfer agents rely on SMTP for email transmission.
Setting Up SMTP
Enter the correct SMTP details for your mail server.
Ensure the connectivity test is successful before enabling and saving the configuration.
Make sure Secure/TLS is enabled on your mail server for secure transmission.
Configuring in PowerHouse Hub
Once your SMTP details are ready, configure the settings in the App Store area of your portal.
- Enter SMTP Server Details: Add your SMTP host, port, username, and password into the email settings section.
- Enable Secure/TLS Connection: Make sure Secure/TLS is enabled on your mail server to allow safe email transmission.
- Test and Save: Run a connectivity test to confirm the details are correct, then click Save to apply the settings.
View Logs
This allows Administrators to monitor email delivery issues and view detailed logs of all outbound emails sent from the platform, including bounce tracking and delivery statuses.
NOTE: Logs are stored securely and retained for up to 2 weeks.
1. Navigate to Settings > Email Settings > View Logs:
Each log entry includes the following details:
- Email Name/Type
- Subject Line
- Date & Time of dispatch
- Recipient(s) email addresses
- CC Addresses (if any)
- Email Content Preview
- Delivery Status (e.g., Sent, Failed, Bounced)
- Emails containing sensitive content (e.g., passwords or personal data) are sanitised and masked before being stored
When you're done with your updates, make sure to click Save to apply the changes.