This guide provides an overview of E-commerce. We will walk through each system setting to help you tailor your site to your specific needs.
To access, navigate to Settings on the side menu, then select E-commerce from the Platform Settings:
IMPORTANT: Changes will not be updated until the SAVE button is clicked at the very bottom of the page.
Payment Gateways
You can connect your preferred payment gateway to start accepting payments on your site. Choose a gateway from the list below and enter your credentials to complete the setup.
Tax Settings
Configure your business and tax information to appear correctly on invoices and throughout your eCommerce site.
Business Number
Enter your business identifier (e.g., ABN, GST Number, CRN, Companies House Number).Business Number Label
The label that will appear on invoices (e.g., ABN, GST Number, CRN, Companies House Number).Payment Currency
Select the currency for all eCommerce transactions.
Note: Some currencies may not be compatible with all payment gateways. Verify compatibility before making changes.Currency Symbol
This is automatically generated when you select a Payment Currency.Include Tax on Purchases
Toggle whether taxes are included in product prices.Tax Text
Enter a name for your tax, e.g., GST, VAT.Tax Percentage
Enter the percentage rate that will apply to all purchases.
Frontend Catalogue
Configure how users see and interact with your site’s events, courses, and webinars.
Allow users to purchase events
Enable this to let users buy events directly from the frontend.Categorise items in categories
Organise your products or events into categories for easier browsing.Allow free events to be registered on the frontend
Enable this to allow external attendees to register for free events.-
Homepage Display Settings
Control how many items are shown on the homepage:Events
Courses
Webinars
Stripe Settings
Before you can integrate with Stripe, you must sign up for an account:
https://dashboard.stripe.com/register
You will need to provide your API publishable key and secret key for both the test and live environments.
For guidance on locating your keys, see: https://stripe.com/docs
Stripe Help
After creating your Stripe account, copy the matching Publishable key and Secret key for each environment. Refer to your Stripe dashboard for the exact location of these keys.
Stripe Enabled
Turn this on to enable Stripe as your payment gateway.
Testing Mode Enabled
Use this mode to test transactions safely before going live.
Set on for testing or beta sites.
Set off for live/production sites.
You can temporarily set off if you want to test live credentials.
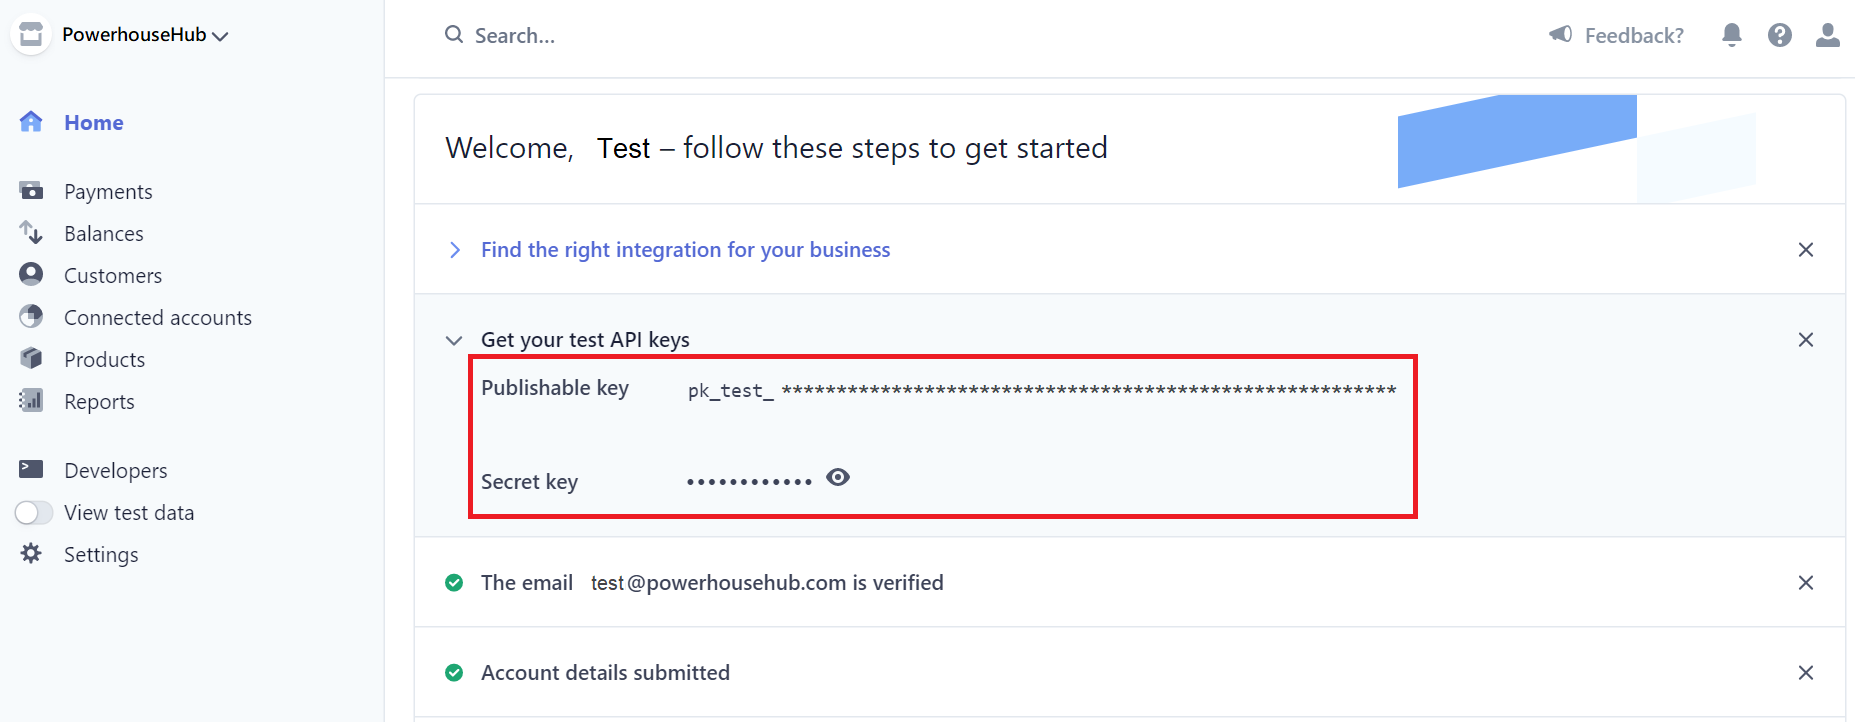
Test API Keys
Enter your test environment keys:
Publishable key
Secret key
Live API Keys
Enter your production/live environment keys:
Publishable key
Secret key
BPoint Settings
To begin using the BPOINT API, you will need a BPOINT Checkout or BPOINT Enterprise facility.
An Administrator or Manager (T1) user must create an API user and provide the credentials below.
For guidance on obtaining your credentials, visit:
https://www.bpoint.com.au/developers/v3/
BPoint Enabled
Turn this on to activate BPoint as your payment gateway.
Testing Mode Enabled (Sandbox)
Use this mode to test your transactions safely before going live.
Set on for testing or beta sites.
Set off for live/production sites.
You can temporarily set off if you want to test live credentials.
Sandbox / Beta Credentials
Enter the credentials for the sandbox environment:
API username
API password
Merchant Short Name
Merchant Number
Live Credentials
Enter the credentials for the production/live environment:
API username
API password
Merchant Short Name
Merchant Number
Global Payments Settings
Use this section to connect your site with Global Payments and manage both test and live transactions.
Global Pay Enabled
Turn this on to activate Global Payments as your payment gateway.
Testing Mode Enabled (Sandbox)
Use this mode to test eCommerce transactions safely before going live.
Set on for testing or beta sites.
Set off for live/production sites.
You can temporarily set off if you want to test live credentials.
Beta / Sandbox Credentials
Enter the credentials for the sandbox environment:
Merchant ID / Name
Shared Secret
Sub Account
Post URL
Live Credentials
Enter the credentials for the production/live environment:
Merchant ID / Name
Shared Secret
Sub Account
Post URL
Flywire Settings
Use this section to connect your site with Flywire and manage both test and live transactions.
Flywire Enabled
Turn this on to activate Flywire as your payment gateway.
Testing Mode Enabled (Sandbox)
Use this mode to test eCommerce transactions safely before going live.
Set on for testing or beta sites.
Set off for live/production sites.
You can temporarily set off if you want to test live credentials.
Beta / Sandbox Credentials
Enter the credentials for the sandbox environment:
URL
Client ID
Pathway ID
Payment Option
Department ID
Shared Secret
Live Credentials
Enter the credentials for the production/live environment:
URL
Client ID
Pathway ID
Payment Option
Department ID
Shared Secret
When you're done with your updates, make sure to click Save to apply the changes.